
Installing the Litter-Robot 3 Cat Sensor
Aug 27, 2024•Channel
AI Analysis
Data from YouTube Data API v3•Updated Just now
Video Overview
Video Details
PublishedAug 27, 2024
Duration5:45
Video ID35o8aA_LGDI
Languageen
CategoryPets & Animals
PrivacyPublic
Made for KidsNo
Video TypeRegular Video
Performance Metrics
Views1.3K
Likes11
Comments0
Engagement Rate0.83%
Likes per 100 views0.83
Comments per 1K views0.00
Video Tags
Description
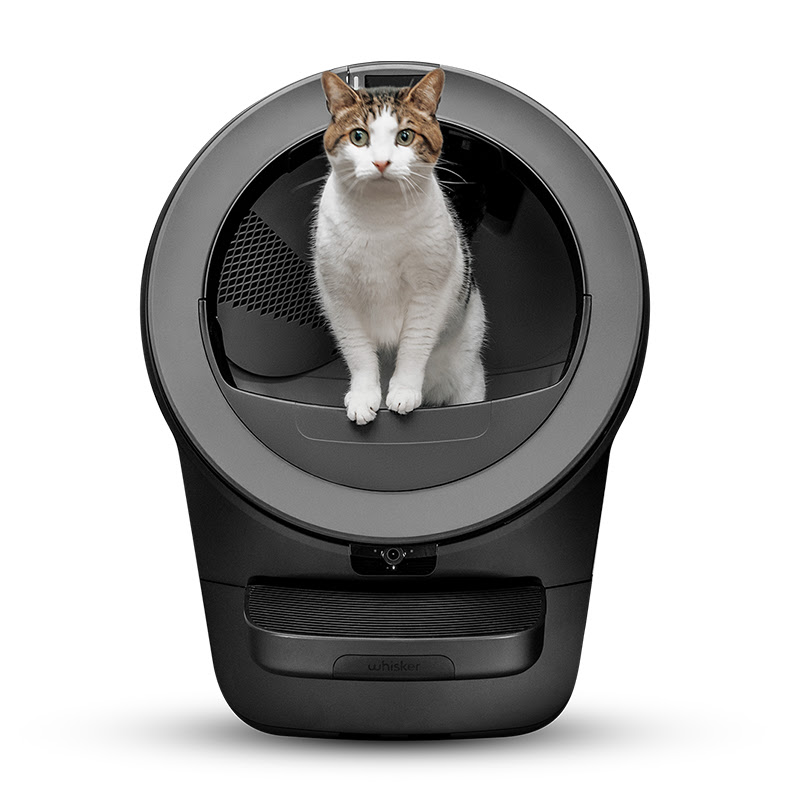
The Litter-Robot 3 cat sensor is a built-in function that detects when a cat enters and exits the self-cleaning litter box. In this video, we’ll explain exactly how to install the Litter-Robot 3 cat sensor for your automatic litter box.
The replacement installation of the Litter-Robot 3 cat sensor is a complex process and any wrong steps may impact the cat sensor sensitivity. It’s recommended to get a base replacement or an in-house repair by Whisker to ensure the correct installation process.
🕒 Timestamps:
00:00 Intro
00:11 Cat sensor restrictions
00:25 Disclaimer
00:58 Tools required
1:08 Disassembling Litter-Robot
1:30 Removing the cat sensor
2:48 Installing the new cat sensor
3:55 Reassembling Litter-Robot
4:27 Calibrating the cat sensor
5:33 Outro
🔧Tools needed for installation:
A ¼ inch hex socket with ratchet
A 6-inch #2 Phillips screwdriver
Masking tape
Cat sensor replacement kit
⚙️Disassembling Litter-Robot 3:
Press the power button to turn off Litter-Robot
Unplug Litter-Robot power cord from the base
Remove the bonnet by pressing the latches on both sides and rotating it backwards
Remove the globe and set aside
Remove the waste drawer and set aside
⚙️Removing the cat sensor
Locate the cat sensor black circular “foot” under the base of Litter-Robot, which is secured by a bolt
Inside the back of the Litter-Robot base, located under the metal sensor cover secured by the nut and bolt, is the cat sensor module
Find the nut attached to the bolt, securing the metal sensor cover
While applying downward pressure, use the ¼ inch socket and ratchet to remove the ¼ inch nut and bolt that hold the cat sensor
Carefully release pressure and remove the cat sensor “foot” and bolt from the base
Remove the metal sensor cover from the inside base
Locate the cat sensor module secured by a plastic tab
Unplug the cat sensor and remove it - slide the sensor to the side to remove it from under the plastic tab
⚙️Installing the cat sensor
Plug the new cat sensor in by sliding it under the plastic tab in the base of Litter-Robot
Gently secure the cat sensor in place with the adhesive backing (make sure the black surface is facing up and the sticky adhesive surface is facing down)
Replace the spring inside the black plastic “foot”
Replace the cat sensor “foot” and bolt located on the bottom of the base
Use masking tape to hold the bolt in place in the “foot” while using another piece of tape to create a small ball to insert into the hole
Press down on the base to ensure the bolt is coming out of the hole
While applying downward pressure, insert the metal sensor cover back on top of the cat sensor
Tighten the nut on the bolt with the ¼ inch socket on ratchet
Release pressure from the base
Remove masking tape from the cat sensor “foot”
⚙️Reassemble Litter-Robot
Reinstall the waste drawer
Replace the globe and turn the black key into the key pocket located on the back of globe
Replace the bonnet by inserting the bonnet tabs into the rear bonnet slots, then press the latches on each side while rotating it forward until they click into place
Plug the power cord into the base
Press the power button to turn the unit on
Wait for the clean cycle to complete and control panel should display a blue “ready” light status
🛜Calibrate the cat sensor
Add approximately 10 lbs or 4 ½ kg of cat litter to the globe
For standard clay litter, fill to just under the fill line, for heavy litters fill halfway to the fill line
Reset the self-cleaning litter box by pressing the Reset button
Press and hold the Cycle and Empty buttons for 3 seconds, allowing the new cat sensor to calibrate
The calibration is confirmed with a red flashing LED
Wait 30 seconds and press the Reset button
Litter-Robot should show a solid blue light indicating it’s ready to use
💡Keep in mind:
Your cat must weigh at least 5 lbs (2.3 kg)
Litter-Robot must be placed on firm, level flooring (no carpets)
If you have any questions,
Consult our related support articles or contact our team.
🛠️ Support Articles:
Litter-Robot 3 Cat Sensor Troubleshooting Guide - https://www.litter-robot.com/support/article/litter-robot-3-cat-sensor-troubleshooting/
Litter-Robot 3: Yellow Light Flashing Slowly (Cat Sensor) - https://www.litter-robot.com/support/article/litter-robot-3-yellow-flashing-cat-sensor/
Litter-Robot 3: Red Light Flashing (Cat Sensor Fault) - https://www.litter-robot.com/support/article/litter-robot-3-red-light-flashing-cat-sensor-fault/
Visit our support center for more helpful articles or contact our team via chat or phone: https://www.litter-robot.com/support/
Warranty information: https://www.litter-robot.com/explore/whiskercare
Subscribe for more tips and troubleshooting guides to keep your Litter-Robot running smoothly! 🐱✨ #LitterRobot #CatCare #SelfCleaningLitterBox
/ @litterrobot
https://www.litter-robot.com/