
AFFINITY 3.2 Circular Contours Creation Tutorial
May 29, 2026•Channel
AI Analysis
Data from YouTube Data API v3•Updated Just now
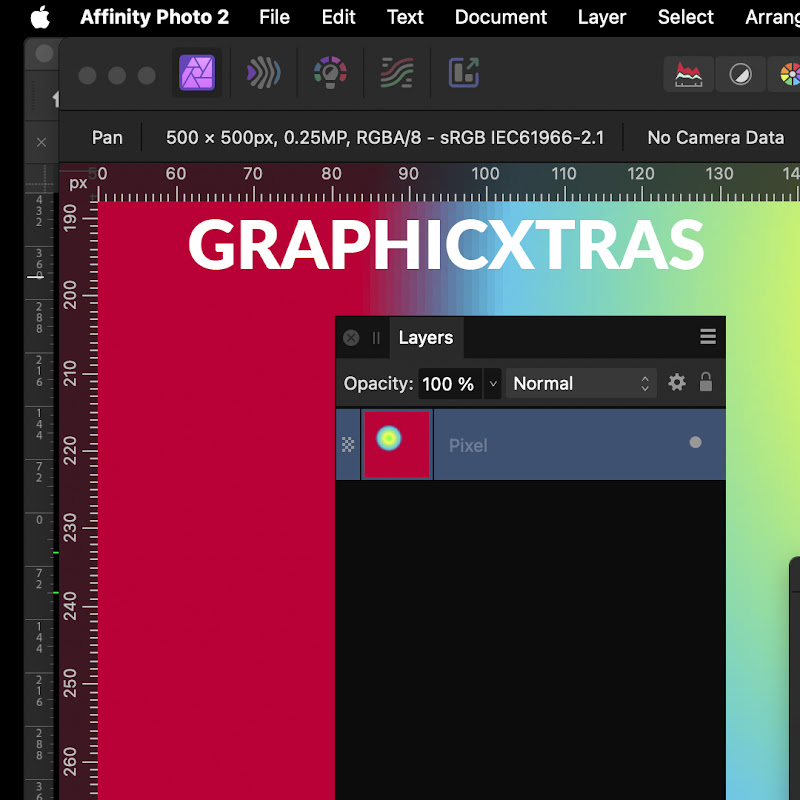
Video Overview
Video Details
Published1 month ago
Duration3:02
Video IDike21Ylu8UQ
Languageen-GB
CategoryHowto & Style
PrivacyPublic
Made for KidsNo
Video TypeRegular Video
Performance Metrics
Views194
Likes11
Comments2
Engagement Rate6.70%
Likes per 100 views5.67
Comments per 1K views10.31
Description
Affinity 3.2 tutorial - how to create colour circles / contours / rings / insets etc quickly in Affinity
The equation used in the video is
oscsin(sqrt(rx*rx+ry*ry)/(10*a))
You can make many variations of this such as rx*rx-ry*ry as well as 2*rx*rx etc
00:00 — How do you start creating a circular procedural design in Affinity 3.2?
Answer: Open Affinity Photo 3 or another Affinity 3.2 app with pixel support, then go to Layer → New Pixel Layer. A pixel layer is required before applying procedural texture effects.
00:10 — Which tool should you use to create the base color background in Affinity 3.2?
Answer: Select the Fill Tool from the Tools panel and drag across the canvas to create a gradient or color fill that will act as the base for the circular effect.
00:22 — Where is the Procedural Texture filter located in Affinity 3.2?
Answer: Go to Filters → Colours → Procedural Texture to open the Procedural Texture dialog panel.
00:33 — How do you set up the RGB equations in the Procedural Texture panel?
Answer: In the Procedural Texture panel, click the Plus (+) button three times to create separate equations for the Red, Green, and Blue channels.
00:45 — What equation creates the circular pattern effect in Affinity 3.2?
Answer: Paste this equation into all three RGB channels:
oscsin(sqrt(rx*rx+ry*ry)/(10*a))
This equation generates concentric circular patterns using the RX and RY coordinate values.
01:08 — How do you control the size and intensity of the circles?
Answer: In the Variables section at the bottom of the Procedural Texture panel, create a variable called a and assign it a value such as 1, 7, 8, or 9. Lower values create tighter, more intense circles, while higher values create broader circular patterns.
01:28 — How can you reposition the circular design?
Answer: Because the equation uses RX and RY, adjusting related values or modifying the equation lets you reposition and reshape the circular pattern dynamically.
01:40 — How do you create multicolored circular effects in Affinity 3.2?
Answer: Replace the variable a with b or c in different RGB channels. Then create matching variables for b and c with separate values to generate varied color combinations and multicolored circle effects.
02:05 — How do you save the procedural texture as a reusable preset?
Answer: In the Procedural Texture panel, open the menu on the right side and select Create Preset. Enter a name such as “Circular Circle 1,” choose a category like “Colored Patterns,” then click Create.
02:24 — How do you apply the circular procedural texture effect?
Answer: After setting the equations and variables, click Apply in the Procedural Texture dialog to render the design onto the pixel layer.
02:33 — How can you distort or stylize the circular design further in Affinity 3.2?
Answer: Go to Filters → Distort → Shear to bend and distort the circular pattern. Drag the shear controls interactively to create abstract warped effects.
02:49 — Which additional Affinity 3.2 filters work well with procedural circle designs?
Answer: You can experiment with filters such as Liquify, Deform, Blur, and other Distort filters to create unique abstract circular artwork and procedural textures.
03:02 — How do you finalize the procedural circular artwork?
Answer: After applying any distortions or blur effects, click Apply to commit the changes and complete the abstract circular design in Affinity Photo 3.
Video is by Andrew Buckle
Affinity 3 Free Version
#affinity3
#affinity
#canva